The Magic of Auto-Tiling Part 1
A deep dive into the building blocks of 2D gaming

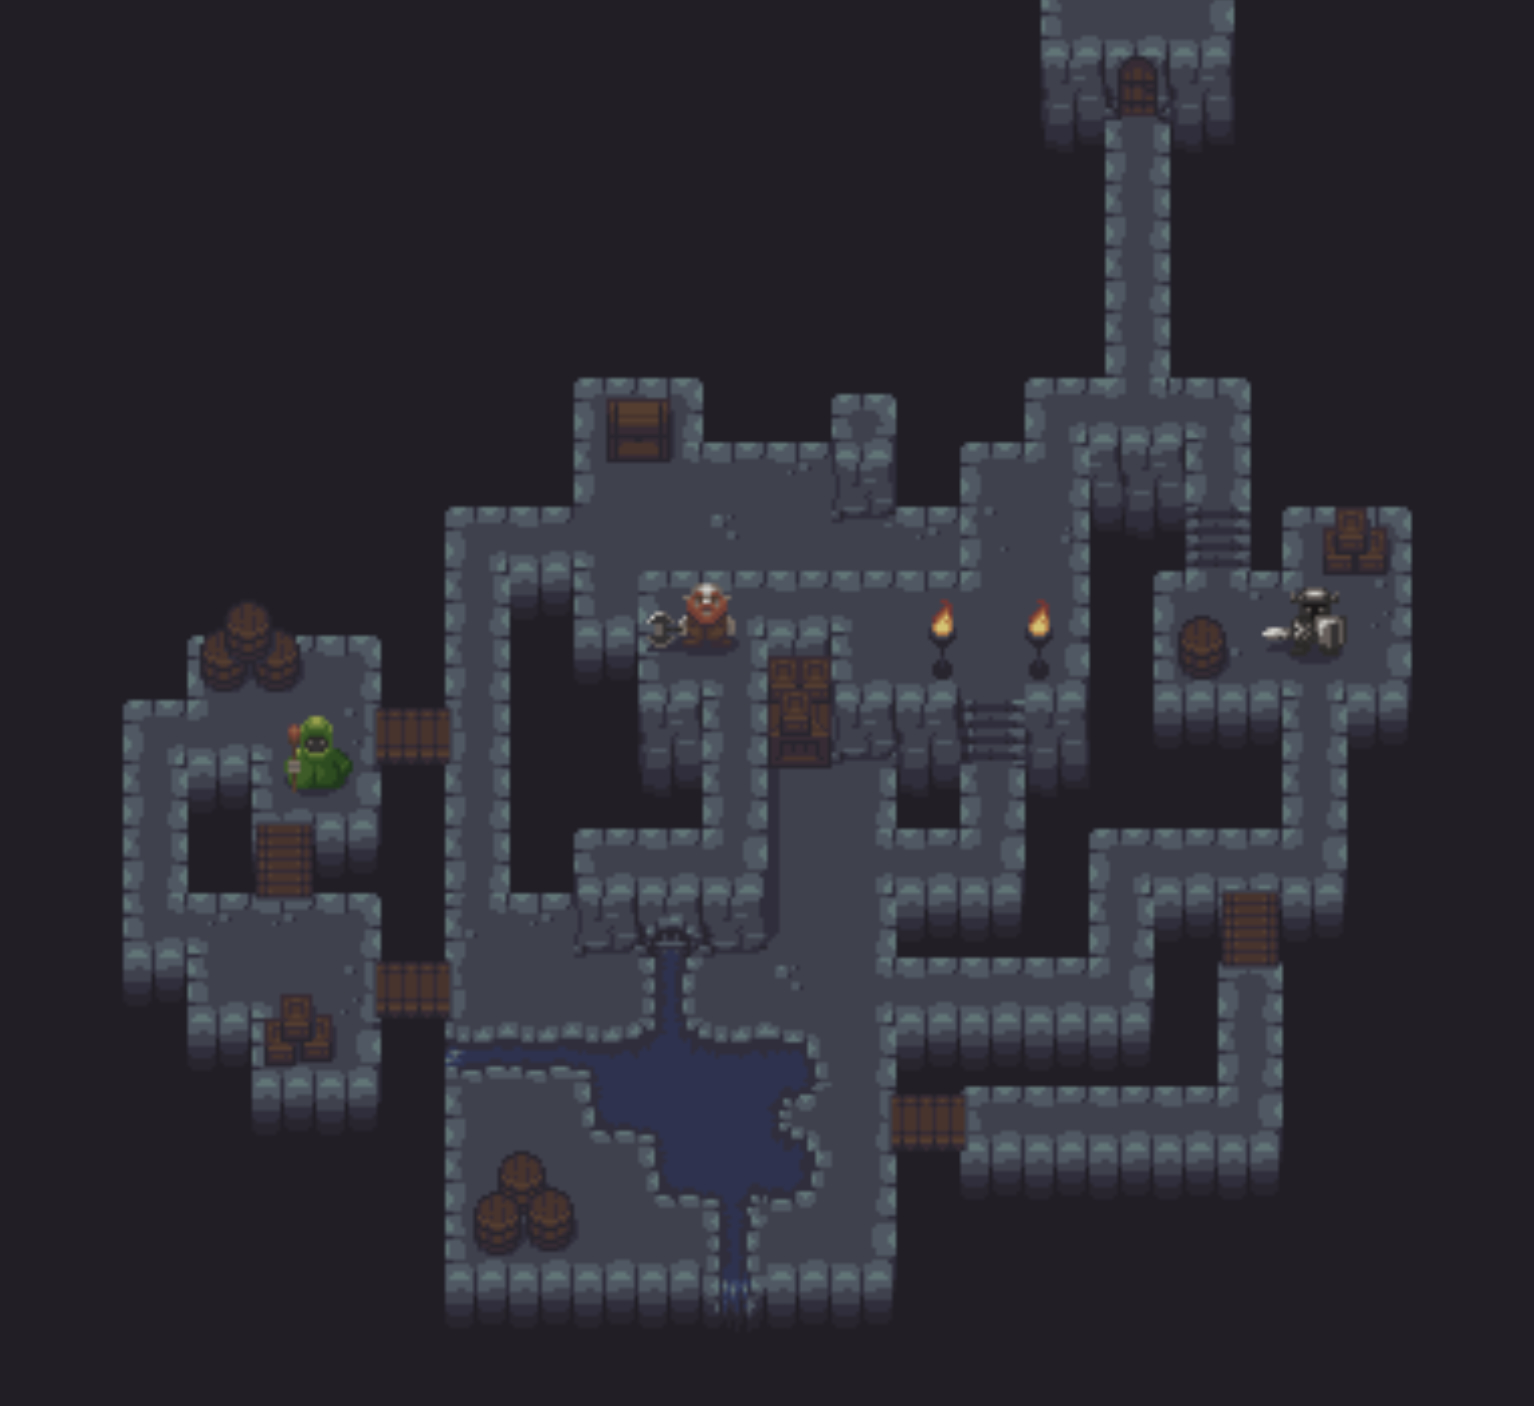
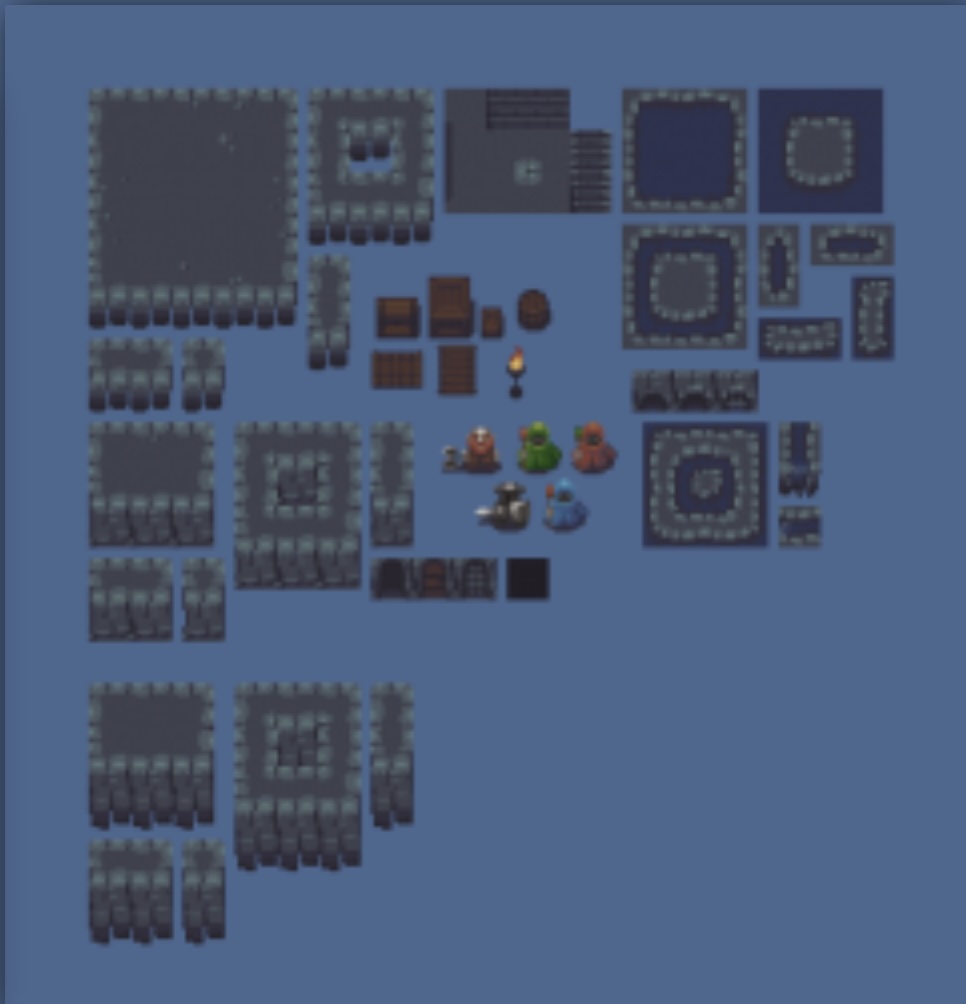
From the abyssal dungeon trials of Hyrule to the sizzling sands of Dry Dry Desert, the retro worlds of digital legend have captured our nostalgic hearts. Creating beautiful, intentionally crafted 2D worlds for players to discover and tame takes serious time and space. So how do you efficiently store an entire sprawling universe of castles and caverns? Introducing the handy tileset:

This quaint amalgam of subterranean tiles can actually create an exponential amount of dungeons to explore.
"That's true" you might say
"We've saved on space, but won't it still take hours of tedious dragging and dropping to make a dungeon?"
Not with auto-tiling! Observe - Or rather just interact with -
the below canvas!
Did you see that? Drag a few ground tiles on the canvas, in any configuration, and the exact right orientation is hand-picked for you! this is called auto-tiling , and it's powered by bitmasking . Let's dive right in to how it works.
function calcGroundBitmask(grid: TileGrid,  coordinates: Position) {
    let bitmask = 0;
    const surroundingPositions = coordinates.surrounding;
    surroundingPositions.forEach((neighborPosition, index) => {
        if(grid.contains(neighborPosition)) {
            const neighboringTile = grid.get(neighborPosition);
            if(!neighboringTile!.collision) {
				/* Bit manipulation alert */
                bitmask |= 1 << index;
            }

        }
    });
    return bitmask;
}
There's a few abstractions and probably foreign operators here so let's break down what's conceptually happening. First: You have the tile!
class Tile {
    /* Used to determine if we want to pay attention to a neighboring tile when calculating bitmask */
    collision: boolean = false;
    /* A binary number indicating what sides this tile has neighboring tiles */
    bitmask = 0;
    tileType: Tiles =  Tiles.Default;
    constructor({collision = false, bitmask = 0, tileType = Tiles.Default}: {collision?: boolean, bitmask?: number, tileType?: Tiles} = {}) {
        this.collision = collision;
        this.bitmask = bitmask;
        this.tileType = tileType;
    }
}
and then you have an X, Y coordinate - Position - for a 2D grid representing a tile's location. Think Battleship here.
class Position {
	/* Just like counting starts at 0 in most programming
	languages, `{x: 0, y: 0}` is the north-left of the screen
	rather than the bottom-left */
	x: number,
	y: number,

	get north(): Position {
		// The position that's right above this one
		return this + new Position(this.x, this.y - 1);
	}
	//... the rest of the cardinal directions
	get neighbors(): Array<Position> {
		return [this.north, this.east, this.south, this.west];
	}
}
The "Tile Grid" is really just a 2D array, so the Position helps to access the right index containing a tile. It also more importantly helps us access a tile's neighboring tiles, in each of the 4 directions.
That's a quick overview of the Models used to emulate a 2D Tile Grid, but what about the bitwise operators? What even is a bitmask? Why is that important?
Let's think about it this way. A complete tileset has every possible directional combination of tiles. Ground tile surrounded by holes? check. Ground tile surrounded by other ground tiles? Check. Ground tile with another ground tile only on the right side? check. You get the point by now. So how would you represent those combinations in code? Well a naive attempt would probably look something like this.
class Tile {
    // Has a Tile above it, below it etc.
    north: boolean = false;
    east: boolean = false;
    south: boolean = false;
    west: boolean = false;
    constructor({north = false, east = false, south = false, west = false}) {
        this.north = north;
        this.east = east;
        this.south = south;
        this.west = west;
    }
}
And with that information you could make the worlds largest list of meandering if-clauses to choose the correct tile image.
function chooseRightTileImage(tile: Tile): string {
    if(tile.north && !tile.east && !tile.south && !tile.west) {
        return 'Tile_Image_For_Ground_Bordering_The_Top.jpg'
    }
    if(tile.north && tile.east && !tile.south && !tile.west) {
        return 'Tile_Image_For_Ground_Bordering_The_Top_And_Right.jpg'
    }
    ...// All 16 other combinations.
}
That technically works, but what about adding four more directions?: northeast , southeast , southwest , northwest .
If writing out two hundred and fifty-six if-statements doesn't sound fun, you may now rest assured there is a better way. A bitmask . A bitmask in this context can be represented like so:
const hasTileOnTop: boolean = true;
const hasTileToRight: boolean = false;
const hasTileOnBottom: boolean = true;
const hasTileOnLeft: boolean = false;

const bitmask: Array<boolean> = [hasTileOnLeft, hasTileOnBottom, hasTileToRight, hasTileOnTop];
For each direction a tile needs to know it has a neighbor, you have a boolean value. What's another way to represent this array of booleans? Binary! Once you convert this into a binary value, you get to do something much cooler than parse a block of unweildy if-statements. So take this representation bitmask = [false, true, false, true] and write it as a binary number 0101 ! Each bit in this binary sequence represents a direction, and that's important because what we really want is the plain ol' decimal value. Here 0101 would just be 5 . Remember this tileset from earlier? This is where that decimal number comes in handy.

Move over to the 5th tile - remember 0 is the first tile - and you'll notice something. Just like the binary representation 0101 you get the ground tile used when the top and bottom tiles are adjacent. So what is a tile bitmask? A binary representation of which direction a tile has neighbors. Now that we know all that, let's revisit this earlier code-snippet.
function calcGroundBitmask(grid: TileGrid,  coordinates: Position) {
    /**
     * Now that we know what a bitmask is, this is just 0000
    */
    let bitmask = 0;
    const surroundingPositions = coordinates.surrounding;
    surroundingPositions.forEach((neighborPosition, index) => {
        if(grid.contains(neighborPosition)) {
            const neighboringTile = grid.get(neighborPosition);
            if(!neighboringTile!.collision) {
                bitmask |= 1 << index;
            }

        }
    });
    return bitmask;
}
This line in particular requires some more explanation bitmask |= 1 << index; . Let's start with the << left shift operator using an example. 0001 << 1 = 0010 . In short, you're shifting the binary value left by X spaces. So 0001 moved over one space becomes 0010 . |= on the other hand is the Bitwise OR assignment operator . This too is best explained with an example. take a = 1000 and b = 0001 then a | b would be 1001 . An OR operation just combines a and b 's 1 bits in the final result. The |= operator just assigns the final result on the spot, so a |= b is the same as writing a = a | b . That might all seem a bit mind-melting at first, but all that's really going on is this: We're putting a 1 bit in the initial 0000 bitmask, if there's a neighboring Tile at that direction.
So bitmask |= 1 << index in a loop for each direction, would just look like this step by step.
/**
 *    v
 * 0000 - North Bit. Is there a neighboring Tile here? Yep.
 *    v
 * 0001 - Cool, let's flip that bit, and move over.
 *
 *   v
 * 0001 - East Bit. Is there a neihboring Tile here? Nope.
 *   v
 * 0001 - Cool, let's skip that one and move over.
 *
 *  v
 * 0001 - South Bit. Is there a neighboring Tile here? Yep.
 *  v
 * 0101 - Cool, let's flip that bit, and move over.
 *
 * v
 * 0101 - West Bit. Is there a neighboring Tile here? Nope.
 *
 * 0101 - Here's the final bitmask result!
 * /
Now you know just how tile bitmasking works!